we share what we know and what you will like most.

Thursday 16 October 2014

5 simple steps to create a facebook business page


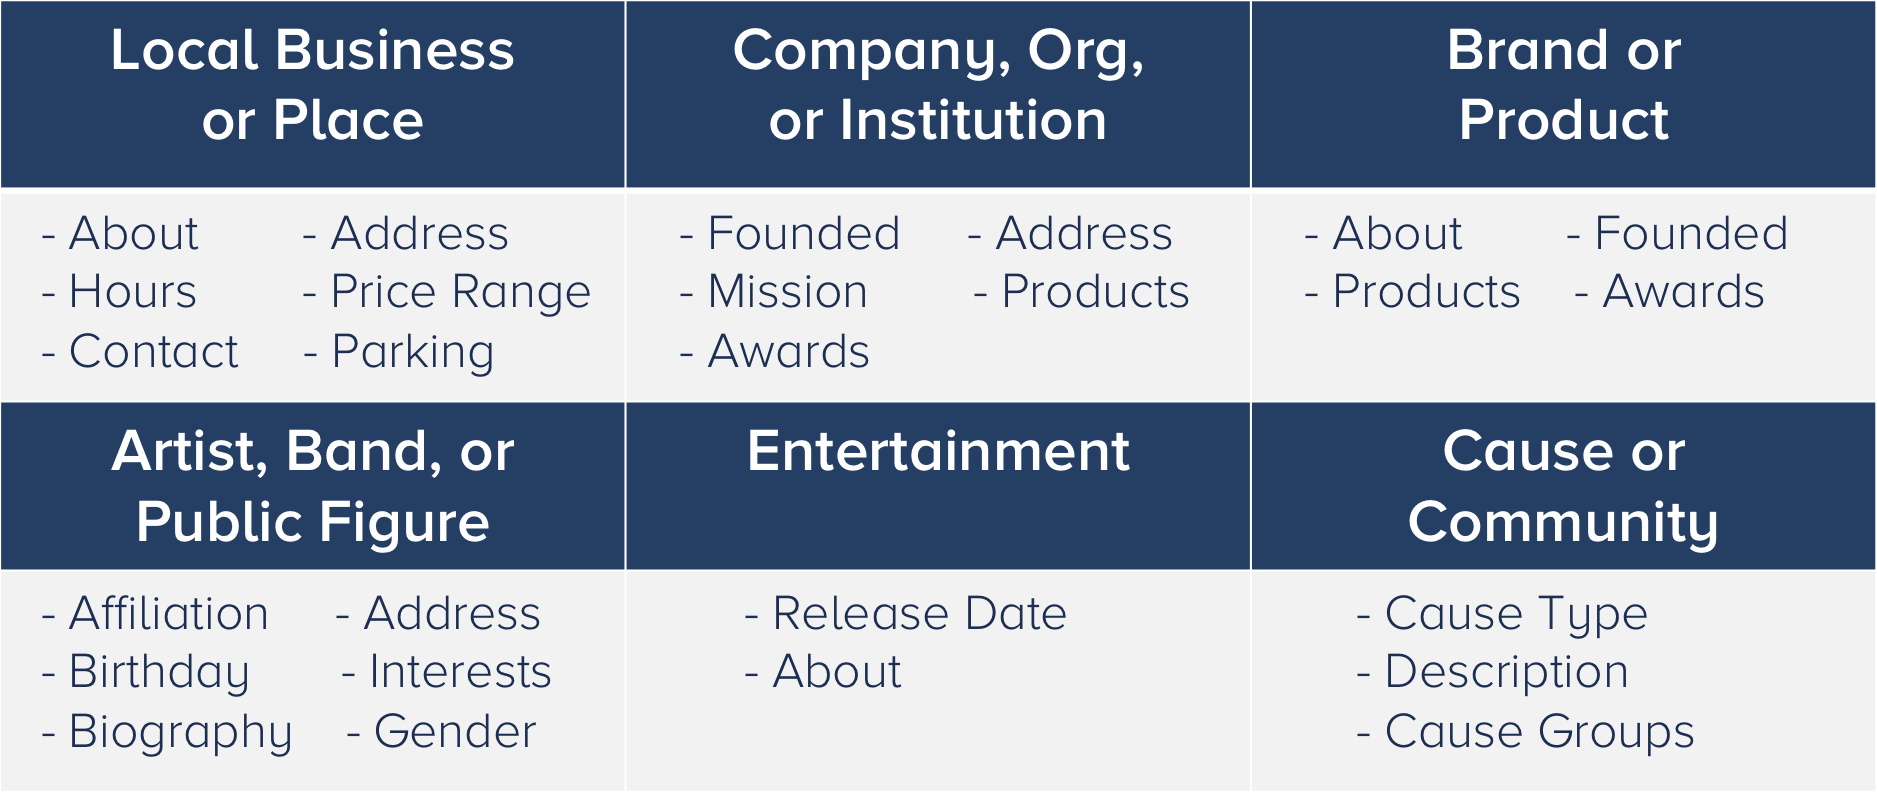
step1  Chose a classification   To begin, navigate to https://www.facebook.com/pages/create.php. This page will showcase six different classifications to choose from:
  1. Local Business or Place
  2. Company, Organization, or Institution
  3. Brand or Product
  4. Artist, Band, or Public Figure
  5. Entertainment
  6. Cause or Community
Each of these classifications provides more relevant fields for your desired Page
For this tutorial, we'll select the second option: company, organization, or institution. After selecting our desired classification, we'll be asked for an official name for our Business Page. I recommend carefully selecting your name. Although Facebook allows you to change your name and URL once, it's a difficult and tedious process
Step2 Complete basic information.
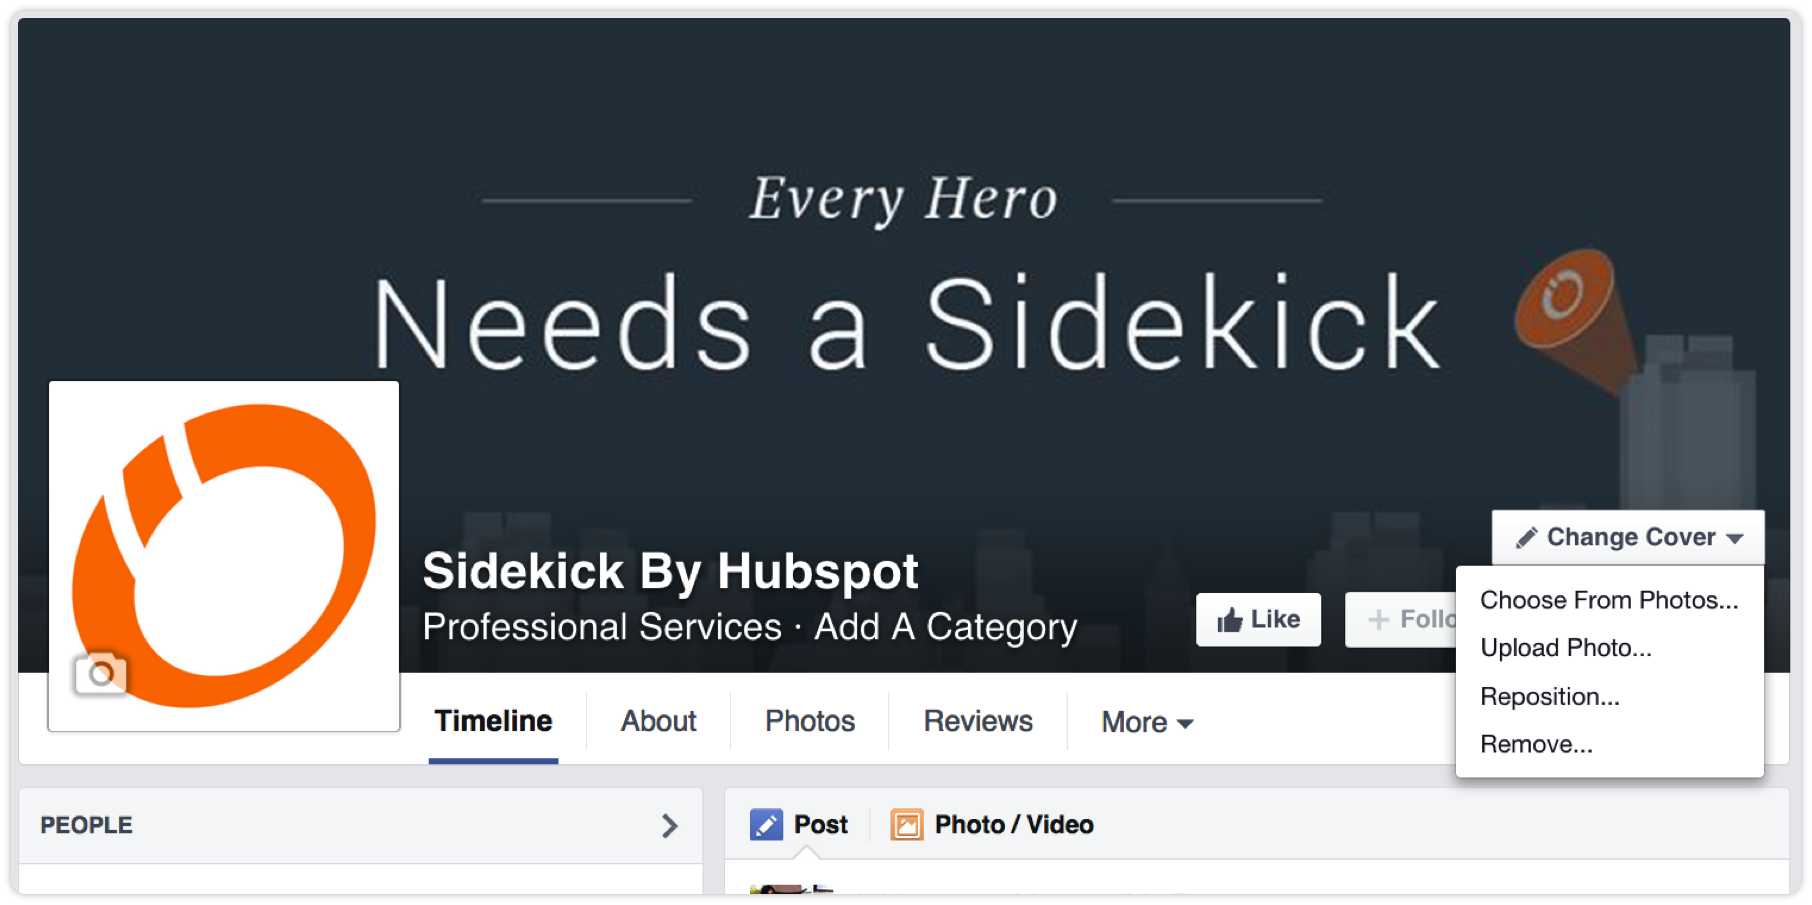
Facebook should automatically walk you through the following four basic sections to complete the fundamental aspects of your Page. Finish "About" Section The "about" section will serve as the main 2-3 sentence description for your company. It will be on your main page, so make it descriptive but succinct. Be sure to include a link to your company website as well. Also ensure that this information differentiates your brand, making your page even more appealing to potential followers. This is also where you can select your unique domain (that, as mentioned above, can only be changed once). For example, the Sidekick by HubSpot Facebook Page employs the URL facebook.com/getsidekick. Upload Profile Picture Next you'll be asked to upload a picture. This will serve as the main visual icon of your page, appearing in search results and alongside any comments you publish. While any perfectly square image will work, the recommended size is 180 x 180 pixels. Add to Favorites Every individual Facebook user has a vertical navigation bar to the left of their News Feed. You can add your Business Page as a "Favorite" item here -- similar to bookmarking a web page in your web browser -- for easy access. Reach More People Facebook will prompt you to create an advertisement to draw attention to your Page. Whether employing paid tactics is a part of your strategy or not, I recommend avoiding starting any ads at this stage -- there's no compelling content on the Page yet that would convince them to ultimately "Like" your page.
 Step 3: Understand the Admin Panel. The basic skeleton of your Business Page is now live. Facebook will ask if you'd like to "Like" your Page. Again, I recommend avoid doing so at the moment. This activity will appear in News Feeds of those you're connected to personally to on Facebook. Without any content on the Page, we want to save that organic Timeline story for when you're really ready for people to view the Page. In the top navigation, you'll see an option for "Settings." Click that. Along the left side, a vertical navigation bar with different sections should appear. We'll focus on three core ones now: Page Info: This is where you can add additional details about your business. This section will also unveil different fields based on the classification you chose in Step 1. Notifications: This section allows you to customize when and how you'd like to receive Page alerts. Set a frequency that fits your social media marketing schedule. Page Roles: Whether or not you'll be the main manager of the Page, there may be others at your organization who need access to your Facebook Page. Here, you can invite other colleagues to make changes to your Pages. Some common use cases here include: A public relations manager who needs to respond to any delicate questions. A support representative who can assist those asking technical questions. A designer tasked with uploading new photo creative to the Page.
Step 4: Populate Page With Content.
Now it's time to actually publish content to your Page and then invite users to be a part of your growing community. Let's start with the basic content needed to get your Page kicking. Posts The rest of your Page will populate over time as you publish more updates. Facebook currently provides six different posting options: Plain text status Photo with caption Link with caption Video with caption Event page Location check-in When posting on your page, just be sure to use a variety of content. What images would your audience like to see? What stats would they like to read? What links would they like to click? You can also click the little grey arrow in the top-right corner of each post and then click "Pin to Top" to move one of your posts to the top of your Page's Timeline for seven days. Use this feature for product announcements, business anniversaries, and other major events pertinent to your brand. If you want to dive deeper into Facebook posting best practices, check out this blog post. Cover Photo This is the large, horizontal image that spans the top of your Facebook Page. Typically, this is a branded image to help attract people to your Page. The official photo dimensions are 851 x 315 pixels. To help you create these cover photos, we have free PowerPoint templates here pre-sized for the right dimensions
Now that there's content on the Page, we can start strategically inviting users to Like it. I recommend inviting users in the following cadence: First, invite colleagues to Like your page and its content to build some initial activity. Second, invite supporters in your network. Encourage them to engage. Third, invite customers. With some activity now on the Page, they’ll be more interested. With content published and users invited, you can go to the "Activity" tab in your Page's top navigation to monitor how people are engaging with your Page and content. Step 5: Measure Your Growth Finally, we need to measure our efforts to ensure we're making valuable marketing decisions on Facebook. Fortunately, Facebook has embedded in some decently helpful metrics for us to take advantage of. Simply click the "Insights" option in the top navigation to see the following: Overview: This tab shows a 7-day snapshot of your metrics such as Page Likes, post reach, and overall engagement. Likes: This tab shows your overall fan growth and losses. If you're employing paid efforts, you'll be able to see the breakdown of paid versus organic growth. Reach: This tab highlights the raw number of people your Page is reaching every day. If you notice spikes on a specific day, try cross-checking what you posted that day to see if you can replicate that reach. Visits: This tab indicates where on Facebook your viewers are coming from. You can see the difference in visits on Facebook Timelines, your information tab, reviews, and others.
Share:

1 comments:

Join Truelinkz Business whatsapp
inbox +13
to join
______________________________
Drop your comments we appreciate
We love it
Our guests like it
So you too
Thanks

For Adverts inquiry
Call: 07031556899
emal: 9japotalblog@gmail.com

Blog Archive

 
close